The Art of Low and Slow: Smoked Brisket 101
The Big One
If you want to earn your stripes in the backyard, you have to master the brisket. It’s the “Holy Grail” for a reason. You need patience, a clean fire, and a real feel for how the meat is reacting to the heat over 12 or 16 hours. When you get it right—with that jet-black crusty bark and a deep pink smoke ring—you’ll know why we put in the work. The meat should be so tender it pulls apart just by looking at it.
Selection: The Foundation
When choosing a brisket, look for a “Full Packer”. This includes both the lean ‘flat’ and the fatty ‘point’ muscles.
- Grade: Go for USDA Prime if your budget allows. The extra intramuscular fat (marbling) is your insurance policy against the meat drying out during the long cook.
- Flexibility: Pick up the brisket (still in the cryovac) and see if it bends easily. A flexible brisket often indicates less rigid connective tissue.
Trimming for Success
Trimming is the most underrated step in brisket prep. Your goal is to create an aerodynamic shape that allows smoke and heat to flow evenly over the meat.
- Cold Meat: Trim the brisket while it’s cold; the fat is much easier to handle.
- The Fat Cap: Trim the thick layer of fat on the bottom to a uniform 1/4 inch.
- Silver Skin: Remove any silver skin from the top of the flat.
- Rounded Edges: Square off the edges and remove any thin, “flappy” bits that will just burn during the cook.
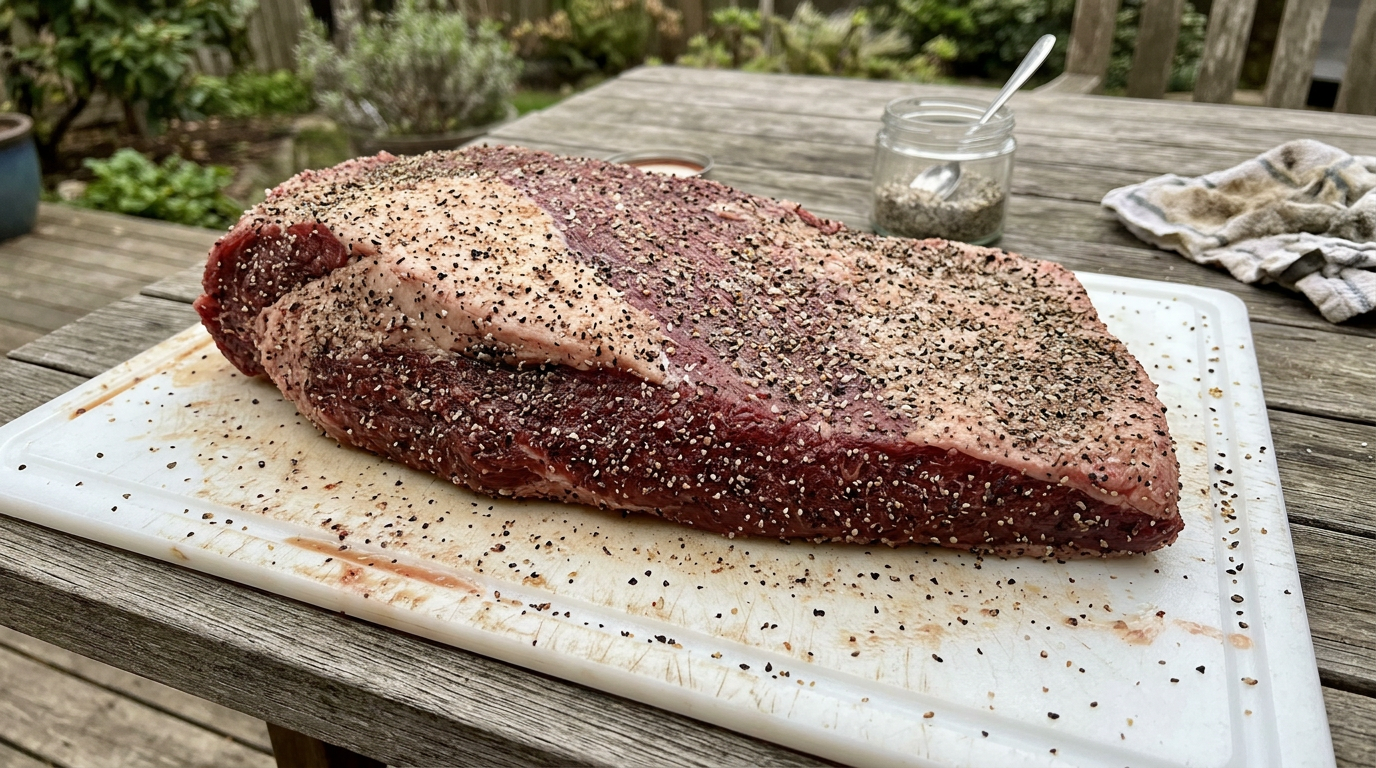
The Rub: Keeping it Simple
A simple “Dalmatian Rub” is the gold standard for Texas-style brisket.
- 1 part Coarse Kosher Salt
- 1 part 16-Mesh Coarse Black Pepper
Apply the rub generously on all sides. The coarse pepper is essential for building that gravelly, dark bark we’re looking for.
The Smoking Process
- Preheat: Get your smoker to a stable 225°F (107°C) to 250°F (121°C). Use a clean-burning wood like Post Oak or Hickory.
- Placement: Place the brisket in the smoker, fat-side up or down depending on your smoker type (fat-side towards the heat source).
- The Stall: Around 160°F - 170°F internal temperature, the brisket will stop rising in temp. This is “The Stall.”
- The Wrap: Once you are happy with the color and set of your bark (usually around the 165°F mark), wrap the brisket tightly in peach butcher paper. This retains moisture while still allowing the bark to breathe.
The Finish and The Rest
Pull the brisket when it is “Probe Tender”. This usually happens between 200°F and 205°F. The probe should slide into the thickest part of the flat like a hot knife through room-temperature butter.
CRITICAL STEP: Rest the brisket. Place the wrapped brisket in an insulated cooler (no ice!) for at least 2 to 4 hours. This allows the juices to redistribute and the collagen to finish its transformation into silky gelatin.
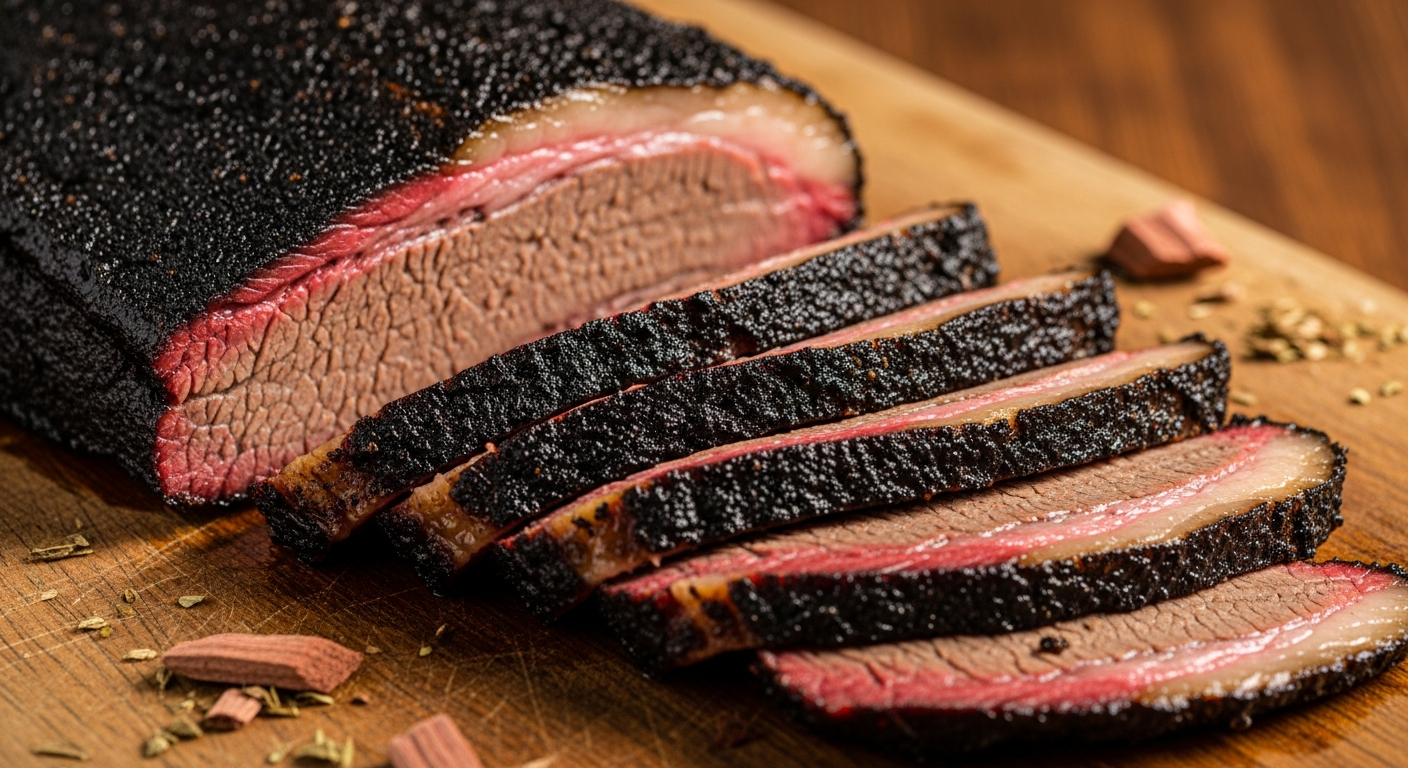
Slicing for Service
Always slice against the grain.
- Start at the thin end of the flat and cut pencil-thick slices.
- Once you reach the point, rotate the meat 90 degrees and slice through the fatty section to get those perfect, marbled bites.
Enjoy the fruits of your labor!
Keep the Fire Burning
Smoked Chuck Roast: The 'Poor Man's Brisket' That’s Rich in Flavor
Big B shows you how to take a humble chuck roast and turn it into tender, smoky beef that gives brisket a run for its money.
Read GuideThe Post Oak Bible: Master the Backbone of Central Texas BBQ
Why Post Oak is the ultimate 'Goldilocks' wood for brisket, how to source it, and the secrets to getting that perfect clean blue smoke.
Read GuideThe Poultry Brine Bible: Wet, Dry, and Why It Matters
Master the science of moisture retention. Learn when to use a wet brine for juiciness and when a dry brine is mandatory for crispy skin.
Read Guide