The Deep Clean: Restoring a Neglected Grill
Why a Clean Grill Matters
A lot of people think a seasoned grill means leaving the black crust from the last few years on the grates. That’s a mistake. Old grease isn’t flavor. It’s a fire hazard. It also gives off a bitter smoke that ruins your food. Carbon buildup on your burners also leads to hot spots and uneven heat.
Once a year, your rig needs a real deep clean. If you cook a lot, you might need to do it more often.

The Supplies You’ll Need
- A good degreaser. Citrus-based is best for food surfaces.
- A plastic putty knife or scraper.
- A shop vacuum.
- A wire brush or chainmail scrubber.
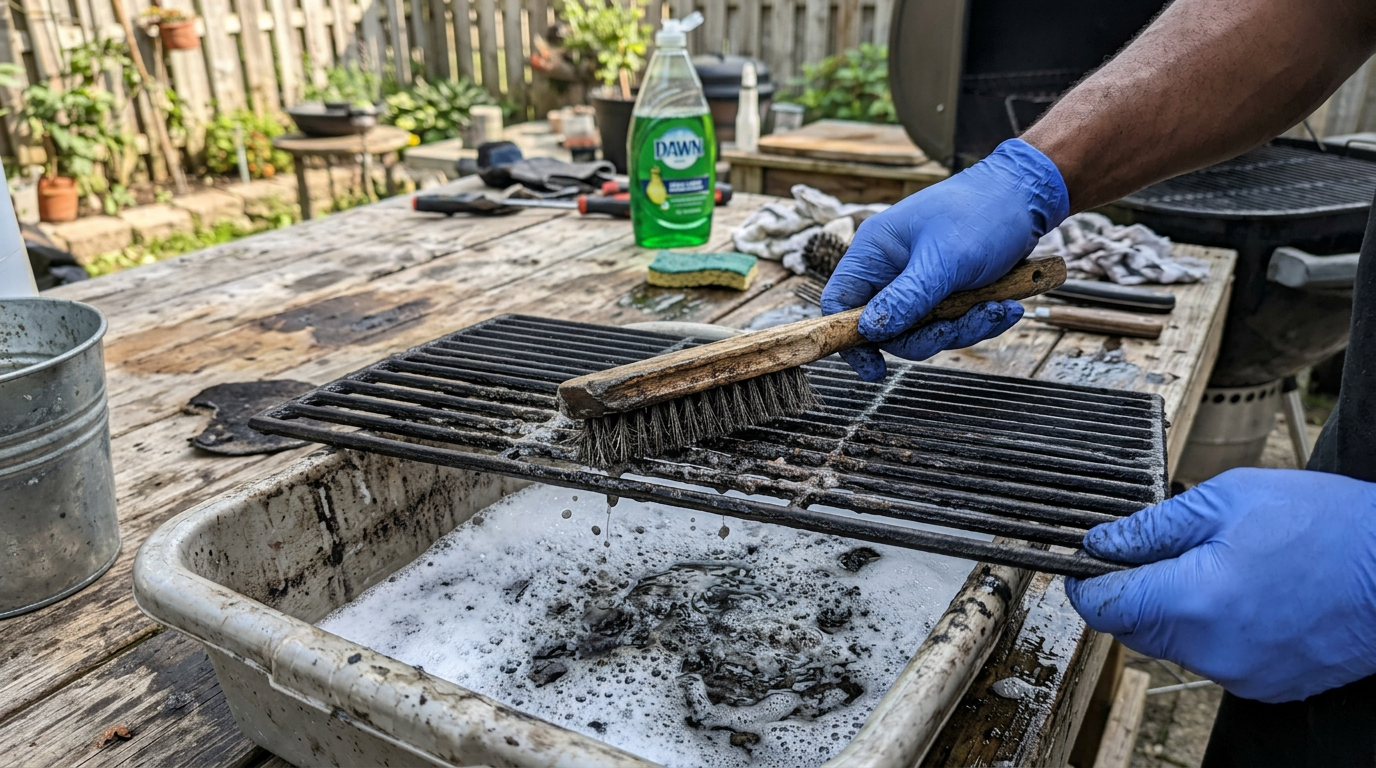
- Dish soap and hot water.
The Step-By-Step Restoration
1. The Heat-Off
Before you start scrubbing, run your grill on high for 20 minutes. This will turn the soft grease into carbon. That makes it much easier to scrape off. Let it cool until it’s just warm before you move on.
2. Disassemble
Take out everything that isn’t bolted down. That means grates, bars, and the grease tray. Soak these in a big tub of hot soapy water.
3. The Scraping Phase
Use your putty knife to scrape the inside walls of the grill. You aren’t looking for a mirror finish. You just want to remove the peeling layers of old grease. Push all that junk toward the bottom.
4. Vacuum the Floor
Use a shop vac to suck out all the loose carbon and ash from the bottom. This is the best way to prevent a grease fire.
5. Clear the Burners
If you use a gas grill, look at the burner tubes. Use a small wire brush to clean the holes. If they are clogged, the gas can’t flow right. That means poor heat control.
6. Reassembly and Season
Scrub your soaked grates. Dry them well and put the grill back together. Crucial: Once it’s back together, coat the grates in a thin layer of oil. Run the grill on medium for 15 minutes. This seasons the metal and protects it from rust until your next cook.
A clean grill works better. It lasts longer. Most importantly, it makes sure your guests only taste the smoke and the meat.