Winterizing Your Outdoor Kitchen
Introduction
An outdoor kitchen is a big investment. It gives you years of fun. But the move into winter can be hard on your gear. It can mess with appliances, pipes, and surfaces if you aren’t careful. Even if you plan on some cold weather grilling, you need to winterize your systems. This prevents expensive repairs when spring comes around.
1. Plumbing and Water Lines: The Priority
The most important step is protecting your pipes. Water grows when it freezes. That can burst pipes and ruin your outdoor faucets.
- Shut off the Water: Find the indoor shut-off valve for your outdoor lines and turn it off.
- Drain the Lines: Open the outdoor faucets to let the water out. If you have a bleeder valve indoors, open it too. Make sure the line is empty.
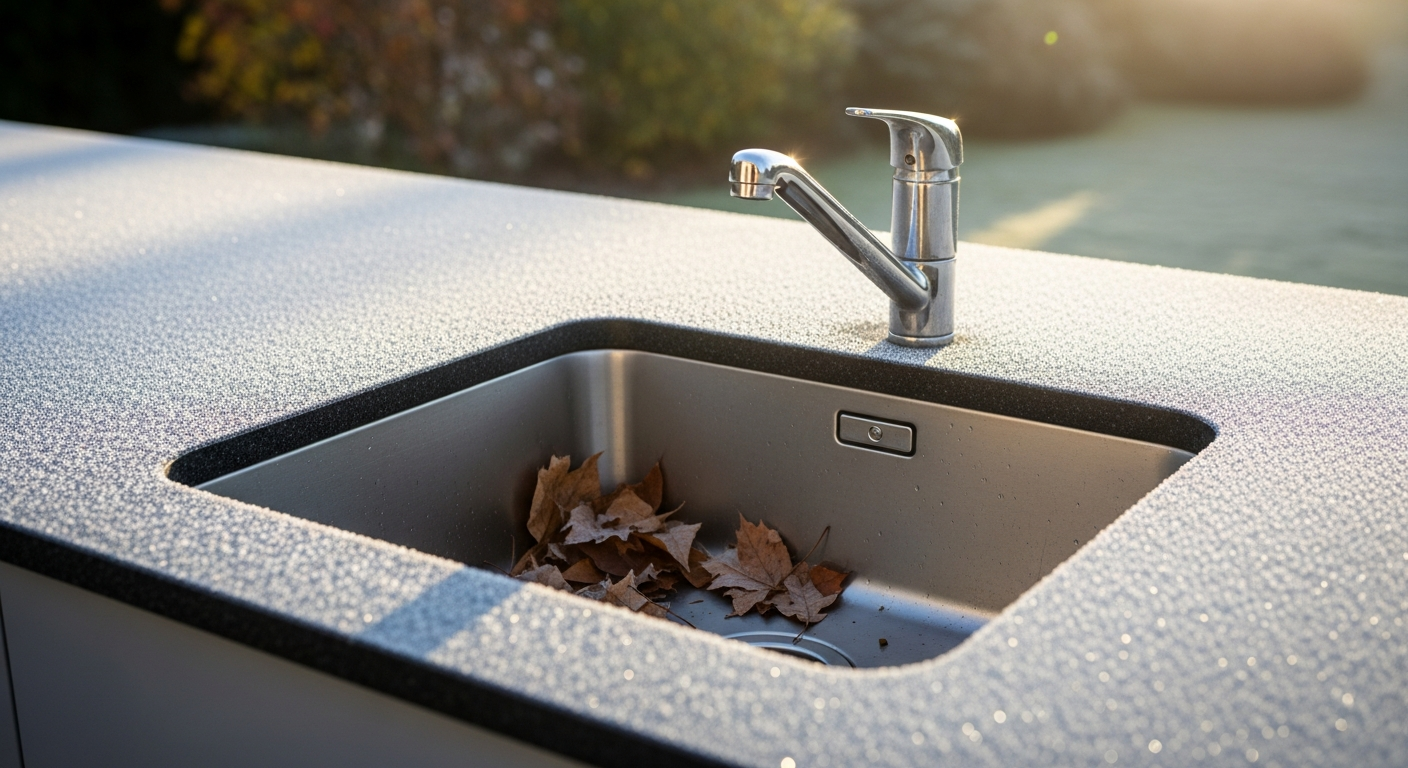
- The Sink: Clean the drain. If you can, cover the sink to keep out moisture and leaves.
2. Appliances: Fridges and Ice Makers
Outdoor refrigerators and ice makers are not designed to operate in sub-freezing temperatures.
- Power Down: Turn off and unplug all outdoor appliances.
- Clean Thoroughly: Remove all food and drinks. Clean the interior with a mild soap and water solution to prevent mold and odors.
- Dry it Out: Ensure the interior is completely dry before closing the door.
- The Ice Maker: Disconnect the water line and ensure it is fully drained. If your ice maker has a storage bin, empty it and dry it.
3. The Grill: Deep Clean and Protect
Your grill is the heart of the kitchen. While many people grill year-round, a deep clean before winter prevents grease and carbon from hardening.
- Burn-Off: Run the grill on high for 15-20 minutes to carbonize any remaining food particles.
- Scrub the Grates: Use a high-quality grill brush to clean the grates while they are still warm.
- Oil the Grates: Once cool, apply a light coat of high-smoke-point oil (like grapeseed or canola) to the grates to prevent rust.
- Clean the Interior: Remove the grates and flavorizer bars to vacuum out any ash or grease buildup from the bottom of the firebox.
4. Surfaces and Cabinetry
- Stainless Steel: Apply a fresh coat of stainless steel cleaner and polish. This creates a protective barrier against moisture and salt.
- Countertops: Clean your stone or granite countertops and apply a sealer if it’s been more than a year.
- Cabinets: Wipe down the interior and exterior of your cabinets. Ensure they are closed tightly to prevent pests from nesting inside.
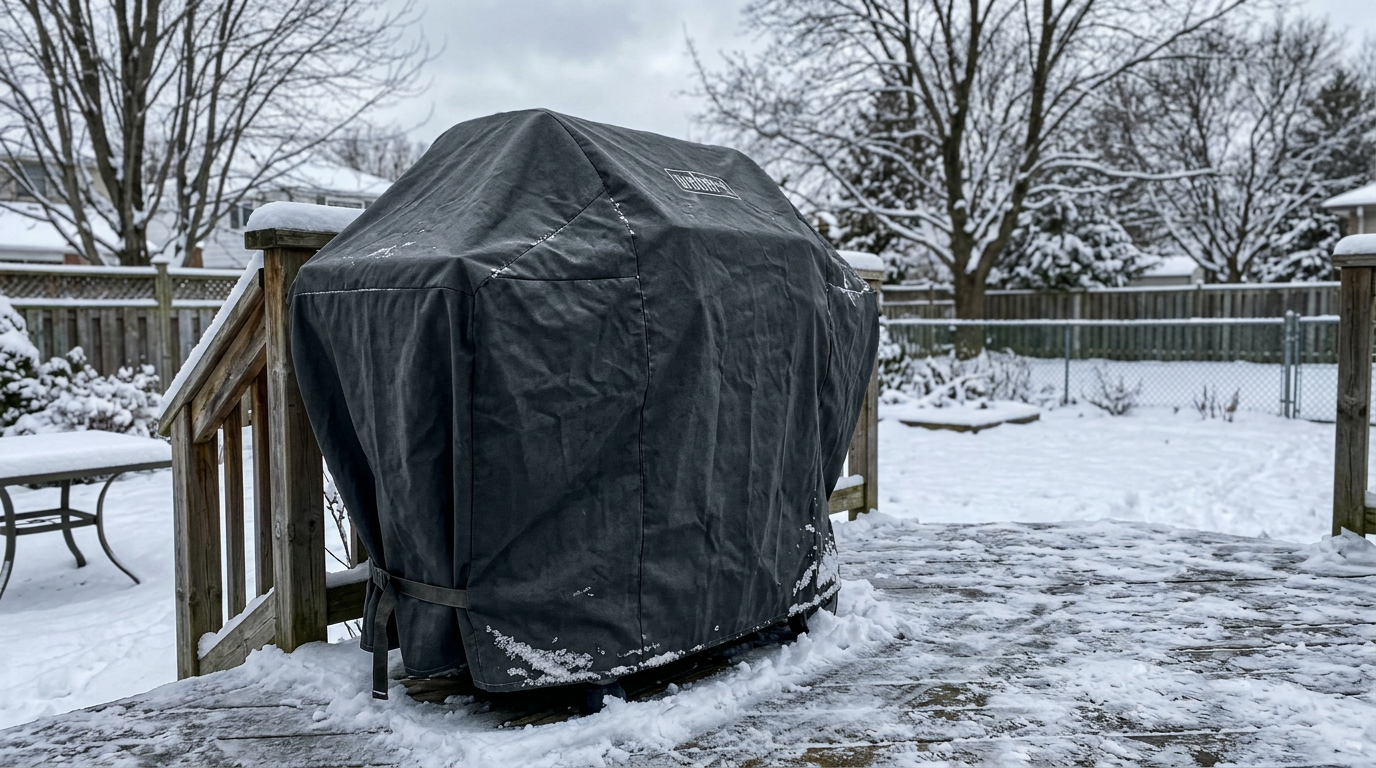
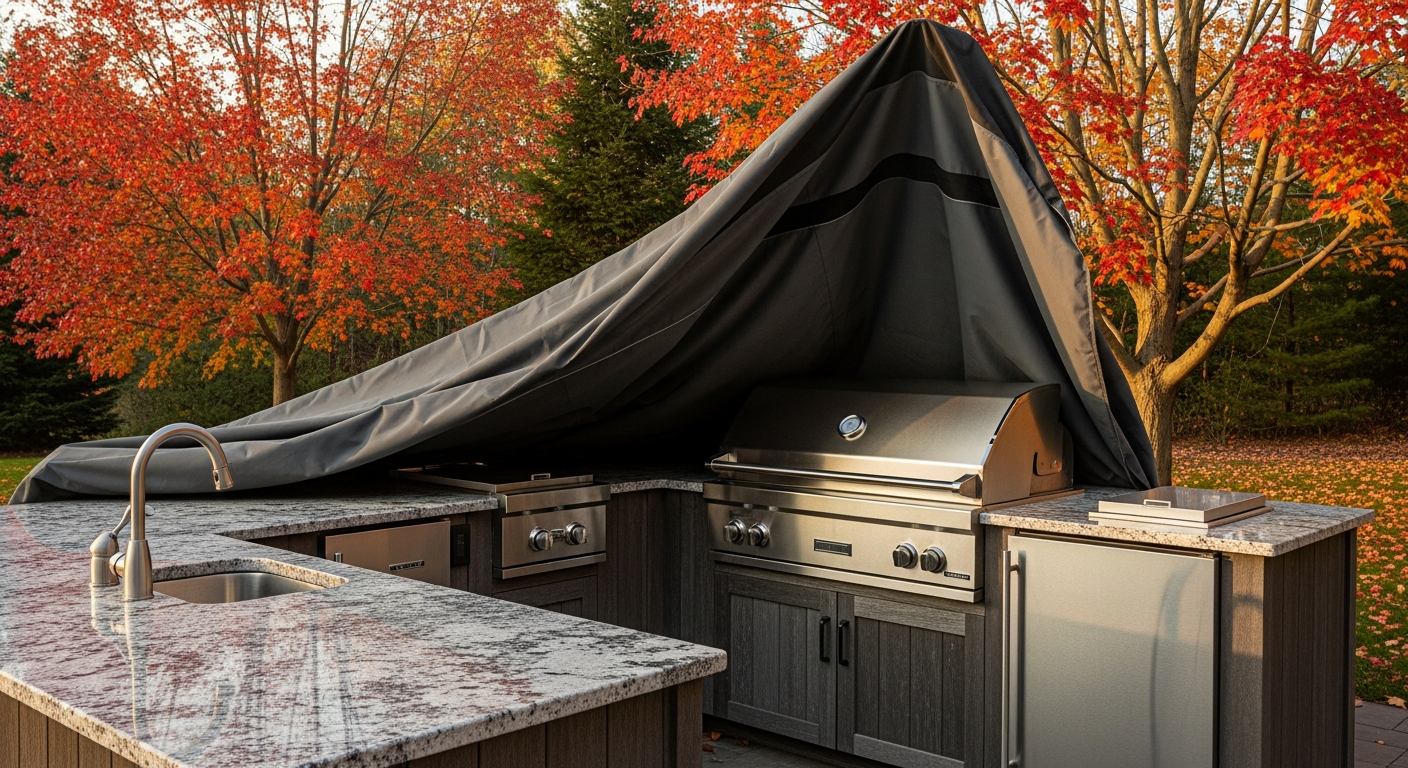
5. The Final Step: Covering Up
Invest in high-quality, breathable, and waterproof covers for your grill and other major appliances. Avoid cheap plastic tarps, which can trap moisture and lead to corrosion. Ensure the covers are secured tightly to withstand winter winds.
By taking these steps now, you’ll ensure that your outdoor kitchen is ready to fire up the moment the first warm breeze of spring arrives!