
The Backyard Workhorse: How to Master Your Kettle Grill
🔥 Big B’s Quick Hits (TL;DR)
- Lid On is Law: Keeps temps stable and prevents flare-ups. Only take it off to flip or sear.
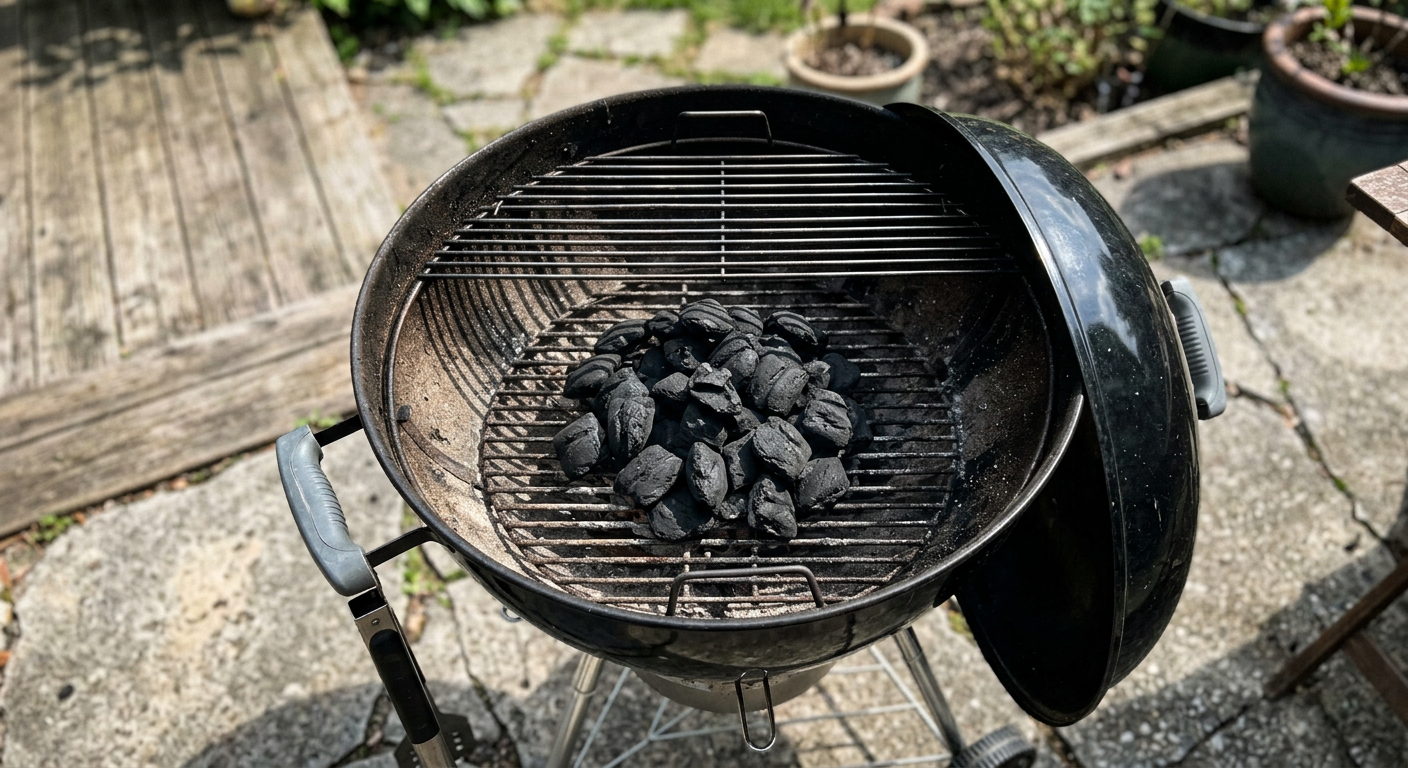
- Clean the Ash: Ash blocks airflow and holds moisture that can rust your bowl.
- Master the Zones: Always set up a direct and indirect side to give yourself a “safety net.”
- Check the Gaskets: A leaky lid makes temperature control a nightmare.
- Invest in a Probe: The dial on the lid is a liar; use a digital thermometer at grate level.
The Icon of the Patio
If there’s one piece of gear that defines American BBQ, it’s the classic black Kettle Grill at every fourth of July party and every weekend tailgate for a reason: they just flat-out work. For less than the price of a fancy cooler, you get a tool that can sear a steak at 600°F (315°C) or smoke a brisket at 225°F (107°C). But most folks treat their kettle like a basic bucket for fire. They dump in some coals, throw on some meat, and hope for the best. To really master the kettle, you have to understand the anatomy of the machine and how to use that round dome to your advantage.
Anatomy of the Legend: Understanding Your Kettle
A Kettle Grill looks simple from the outside, but it’s actually a well-designed convection oven. The magic is in the shape. The porcelain-enameled bowl and lid are designed to circulate heat evenly around your food.
At the bottom, you have the charcoal grate. This is where your fire lives. It’s elevated to allow air to flow under the coals and ash to fall through. Above that is your cooking grate. The distance between the two is calculated to give you the perfect balance of direct radiant heat and indirect convection.
The real brain of the grill, though, is the venting system. The bottom intake vents control the amount of oxygen getting to your fire, while the top exhaust vent on the lid controls the draw of heat and smoke. If you want to master the kettle, you have to master these vents. When that lid is on, you’re creating a miniature weather system inside the dome.
The First Fire: Seasoning and Setup
If you just bought a brand new kettle, don’t throw your expensive ribeyes on it the second you get it home. Every new grill comes with a thin layer of factory oils and residues from the manufacturing process. You need to do a “burn-off” first. Load up a full Chimney Starter of charcoal, dump it in, and let it roar with the vents wide open for about 45 minutes. This will bake off any nasties and season the porcelain.
Once you’re ready to actually cook, location is everything. I’ve seen more than one “oops” moment where a hot kettle melted the vinyl siding on a house or scorched a low-hanging oak branch. Give your grill at least five feet of breathing room from any combustible surface. And please, for the love of the pit, make sure it’s on a level surface. A tipping kettle full of red-hot coals is a disaster waiting to happen.
Cooking Configurations
The beauty of the kettle is that you can change its entire personality just by moving your coals around.
Direct High Heat
This is the “standard” way most people use a grill. You spread your coals in an even layer across the entire charcoal grate. This is for high-heat, fast-moving items like burgers, hot dogs, and thin pork chops. You’re looking for a fast sear and a quick finish. Just watch out for flare-ups; when fat hits a bed of direct coals, things can get out of hand fast.
Indirect/Two-Zone
This is the setup I use 90% of the time. You bank all your coals to one side of the grill, creating a hot zone and a safe zone. You sear your meat over the coals and then move it to the empty side to finish roasting. This is how you master the reverse sear. It gives you total control and prevents you from burning the outside of a thick steak before the inside is cooked.

The Ring of Fire
If you’re doing something like “Vortex” style wings or a whole chicken, try banking your coals in a ring around the outside edge of the grill. This creates a powerful convection current that pulls heat up the sides and down onto the center of the grate. You get incredibly crispy skin without ever having to flip the meat.
The Art of the Lid: Why We Cook Covered
If there’s one habit you need to break, it’s cooking with the lid off. I know, it’s tempting to stand there with your tongs and watch the magic happen, but every time you lift that lid, you’re losing your convection current and inviting a flare-up.
The lid is what turns your grill into an oven. It reflects heat back down onto the meat, ensuring that you’re cooking from all sides at once, not just from the bottom. This is especially critical for thicker cuts. If you’re roasting a whole chicken or a tri-tip, that lid needs to stay shut. As we say in the backyard: “If you’re lookin’, you ain’t cookin’.”
More importantly, the lid is your fire extinguisher. By keeping it closed, you limit the amount of oxygen available to the fire, which prevents the dripping fat from turning into a grease fire. If you do get a flare-up, don’t reach for a spray bottle of water—just close the lid and let the lack of oxygen do the work for you.
Maintenance and Longevity
If you treat a kettle right, it’ll last you twenty years. If you don’t, it’ll be a rusted-out bucket in five. The number one killer of kettle grills is ash. Ash is highly acidic and holds onto moisture like a sponge. If you leave a thick layer of wet ash in the bottom of your bowl, it will eat through the porcelain and the steel. Clear your ash after every single cook.
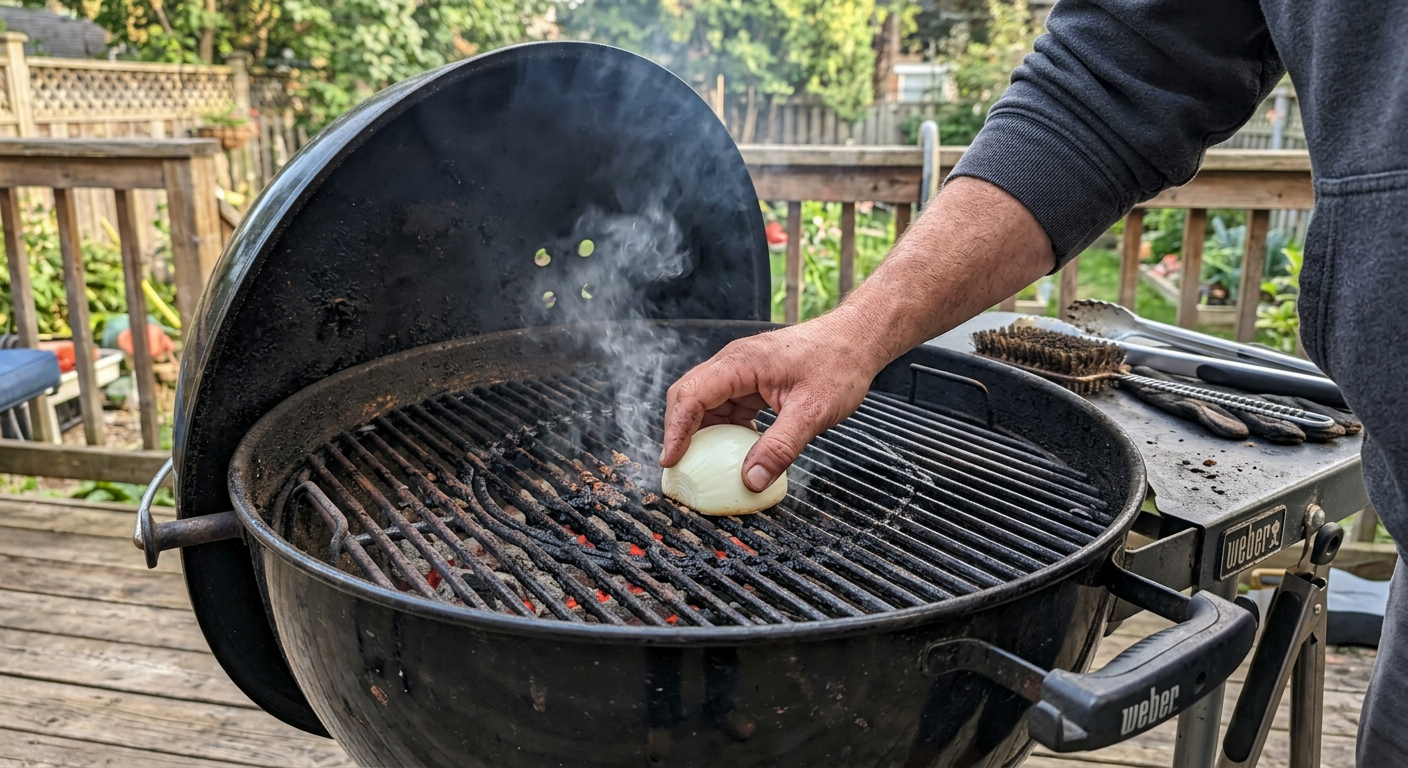
For the grates, don’t waste your money on those fancy wire brushes that shed metal bristles into your food. Use the onion trick. While the grill is still hot, rub a halved white onion over the grates. The natural acids in the onion break down the grease, and the moisture steams away the stuck-on bits. Plus, it smells incredible.
Once a year, give the whole thing a deep clean with some warm soapy water. Check the nuts and bolts on the legs—they tend to wiggle loose over time. And if you’re not using it, keep it covered or store it in the garage. A little bit of love goes a long way with the backyard workhorse.