The Poultry Brine Bible: Wet, Dry, and Why It Matters
🔥 Big B’s Quick Hits (TL;DR)
- Wet Brining: Best for skinless chicken breasts or lean turkey parts that need maximum moisture. Use 1 cup Kosher salt per gallon of water.
- Dry Brining: The gold standard for whole birds. It flavors the meat and dries out the skin for a better crunch.
- Osmosis is Real: Brining isn’t just “salting”; it’s a structural change that lets your meat survive the heat.
- Time it Right: One hour per pound is the sweet spot. Don’t over-brine or you’ll end up with a salt lick.
Poultry is one of the most unforgiving things you can put on a smoker. Unlike a fatty brisket or a marbled pork shoulder, a chicken breast has almost zero internal fat to hide behind. It’s lean, it’s delicate, and if you let it stay on the pit for just five minutes too long, it’ll turn into something that resembles dry sawdust more than a meal. It’s a high-stakes game where the difference between “hero” and “zero” is only a few degrees.
I remember one Thanksgiving about ten years ago when I pulled what I thought was the perfect bird off my old offset. It looked like a million bucks—deep mahogany skin and a smell that would make a grown man cry. But when I carved it open, the breast was bone-dry. It was the kind of dry that required a gallon of gravy just to swallow. It was a lesson I’ll never forget, and it’s the reason I became obsessed with the art of the brine.
Brining is your insurance policy. It’s the single best thing you can do to make sure your chicken and turkey stay juicy, even if your firebox gets away from you for a bit. It’s not just about adding salt; it’s about changing the very structure of the muscle fibers so they can hold onto more water during the cook. When you brine correctly, you’re building a safety buffer that keeps the meat tender and flavorful through the entire smoking process.
Whether you’re submerging a whole bird in a bucket of aromatics or just dry-salting some drumsticks for a quick weeknight smoke, the goal is the same: moisture retention. In this guide, we’re going to break down the science of why brining works, compare the wet and dry methods, and show you exactly when to use each one. Once you master the brine, you’ll never have to worry about a dry bird again.
The Science of the Soak: How Brining Actually Works
To understand why brining is so effective, you have to look at the physics of meat. When you submerge poultry in a salty solution, a process called osmosis kicks in. The salt draws some of the water out of the meat, but then it quickly dissolves into a brine and is reabsorbed back into the muscle fibers. This means the meat is literally taking on extra water, and that water is seasoned with salt, bringing flavor deep into the tissue.
But the real magic of brining isn’t just about adding more water—it’s about changing the protein structure of the meat. In a normal, unbrined chicken breast, the muscle fibers are tightly wound together. When you apply heat, those fibers contract like a squeezed sponge, pushing out whatever moisture was inside. This is why overcooked chicken is so dry. The salt in a brine actually denatures some of those tight protein strands, breaking them down slightly and making them more relaxed.
This denaturation creates a more open, “sponge-like” structure that can hold onto moisture much more effectively. Instead of contracting and squeezing out the juices, a brined bird stays relaxed and traps that extra water within the muscle fibers. This is what pitmasters call a “safety buffer.” If you accidentally hit 170°F (77°C) instead of pulling at 165°F (74°C), the brined meat will still be juicy because it had that extra reservoir of moisture to draw from.
Without that salt treatment, lean poultry is a ticking time bomb on the smoker. The muscle fibers will eventually contract so much that the meat becomes tough and dry. By brining, you’re essentially reinforcing the structure of the bird to withstand the high-heat, low-humidity environment of a charcoal pit or an offset smoker. It’s the difference between a bird that survives the fire and one that thrives in it.
The Classic Wet Brine: When to Use the Bucket
The traditional wet brine is the most common method you’ll see. It involves submerging your poultry in a large container of salted water for several hours before you hit the pit. This is the ultimate method for moisture-retention in lean parts like skinless chicken breasts or turkey cutlets. If you aren’t chasing the absolute crispest skin, a wet brine is your best friend because it ensures every fiber of the meat is hydrated and seasoned.
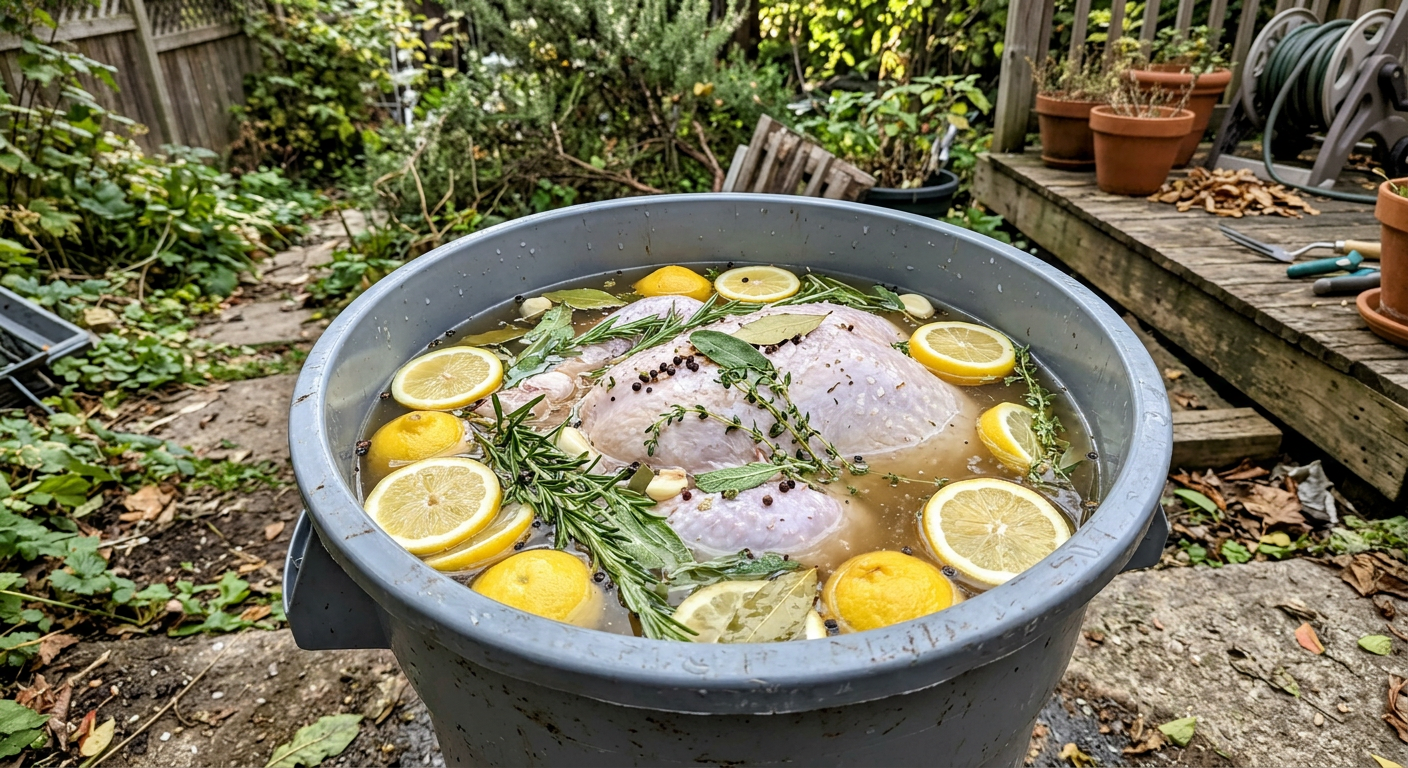
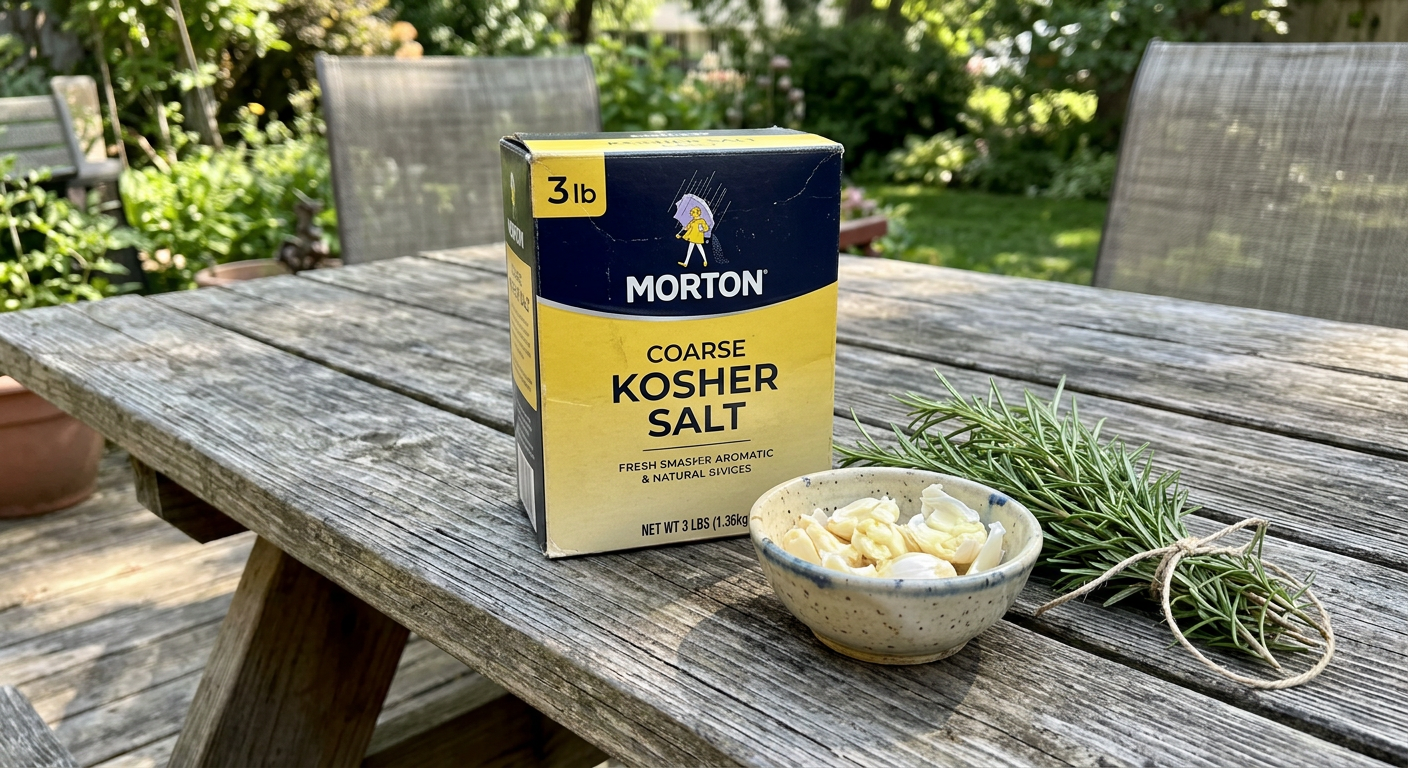
When you’re mixing your brine, there’s a simple ratio you should always follow: 1 cup of Kosher salt per 1 gallon of water. Don’t use table salt—it’s much denser and can lead to an over-salted bird. You want a large bucket or a heavy-duty brine bag to hold the bird and enough liquid to fully submerge it. It’s best to mix the salt into a small amount of hot water first to make sure it’s fully dissolved, then add the rest of the cold water before you put the meat in.
One of the big advantages of a wet brine is the opportunity to add layers of flavor. While salt is the only thing that actually penetrates deep into the meat, adding aromatics like black peppercorns, fresh rosemary, smashed garlic, and sliced lemons to the liquid will season the surface and the outer layers of the bird. I also like to add about a half-cup of brown sugar to my wet brines. The sugar helps to promote browning on the skin, giving you a beautiful color even at lower smoking temperatures.
The timing is critical—you generally want to brine for about one hour per pound of meat. If you leave a chicken in the brine for 24 hours, you’re going to end up with a salt lick. For a whole chicken, 4 to 6 hours is usually perfect, while a large Thanksgiving turkey can handle up to 12 to 18 hours. After you pull the bird out of the liquid, make sure you rinse it thoroughly with cold water to remove any excess salt on the surface, then pat it bone-dry before you apply your rub.
The Dry Brine Revolution: The Secret to Crispy Skin
While wet brining is great for juiciness, it has a major drawback: it’s the absolute enemy of crispy skin. When you soak a bird in water, you’re hydrating the skin, which makes it much harder to get that shatter-crisp texture we all want. This is why dry-brining has become the gold standard for spatchcocked chicken and whole turkeys. Instead of a liquid bath, you’re applying salt directly to the skin and meat, allowing it to do its work without the extra moisture.
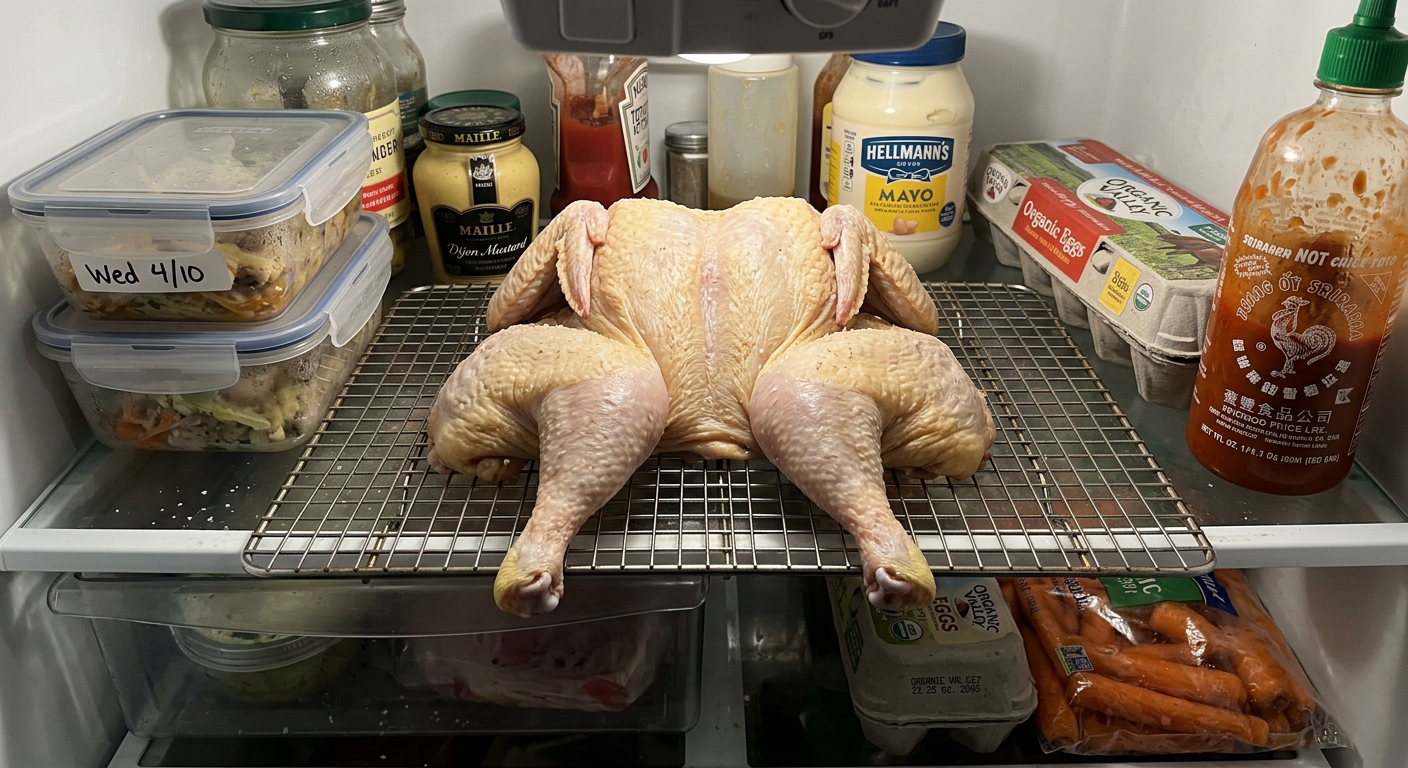
The process of dry brining is incredibly simple but requires patience. You generously salt the entire surface of the bird, making sure to get some salt under the skin of the breast and thighs. The salt will initially pull moisture out of the meat, creating a small amount of brine on the surface. But within an hour, the meat will reabsorb that liquid, pulling the salt deep into the muscle. This leaves the surface bone-dry, which is exactly what you need for a perfect crunch.
Once you’ve salted the bird, slide it into the fridge on a wire rack and leave it uncovered for 12 to 24 hours. This air-drying phase is what creates the pellicle—a thin, tacky layer that helps smoke and heat do their work. For a deeper look at this specific technique, check out my guide on Crispy Skin Smoked Turkey. By the time that bird hits the smoker, the skin will be tight and translucent, and the meat will be seasoned to the bone.
The beauty of the dry brine is that it gives you the best of both worlds. You get the moisture-retention benefits of the salt denaturing the proteins, but you also get a head start on the skin. Since you haven’t introduced any extra water, the high heat of your smoker can immediately start rendering the fat under the skin rather than spending the first hour trying to evaporate surface moisture. If you’re a fan of that traditional Texas-style “bark” on your poultry, this is the only way to go.
Fire and Smoke: Brining Meets the Pit
Once your poultry is brined and prepped, it’s time to hit the smoker. One of the first things you’ll notice with brined meat is that it looks slightly different during the cook. Because the salt has changed the protein structure and added moisture, the meat often appears “pinker” and develops a more pronounced smoke ring. Don’t mistake this for undercooked meat; it’s simply a chemical reaction between the smoke and the brined muscle fibers.
The moisture-retention benefits of brining also allow you to smoke at slightly higher temperatures without fear of drying out the meat. While I still recommend a clean blue smoke burn, you can easily run your pit at 325°F (163°C) to help render that skin. The brined meat acts as its own heat sink, absorbing the temperature more evenly and staying tender even as the exterior crisps up. Check out my Post Oak Guide for tips on getting that perfect, subtle smoke flavor that pairs so well with savory, brined poultry.
Wood choice is another important factor when working with brined meat. Since the salt already provides a savory base, I like to use a milder wood like Post Oak or Apple. These woods complement the natural flavor of the bird without competing with the salt and aromatics you used in the brine. You’re looking for a golden-brown finish, not a heavy, dark smoke profile that can turn bitter if the meat is over-exposed.
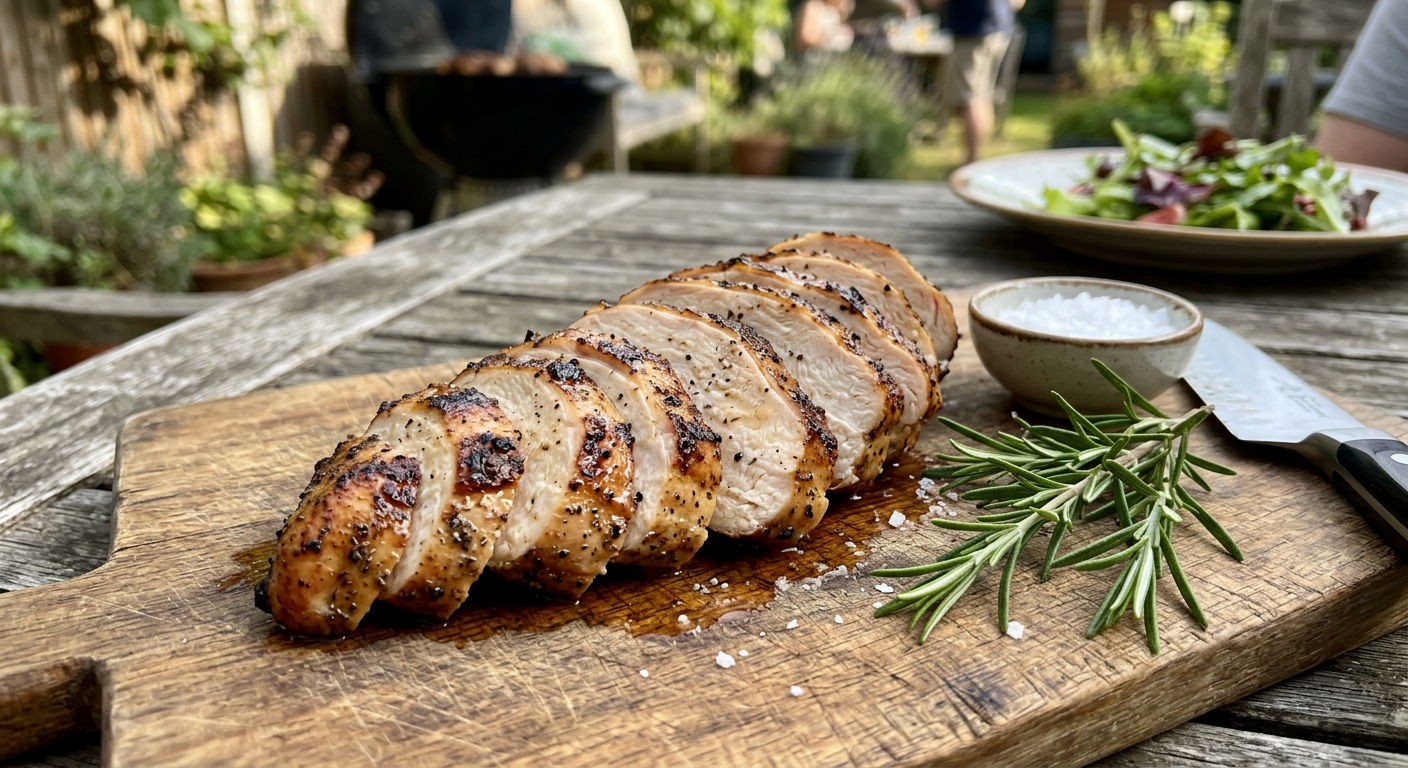
Finally, remember the rule of the pull. Even a brined bird can only handle so much heat. Pull your chicken or turkey when the internal temperature of the thickest part of the breast reaches 160°F (71°C). The carryover cooking will take it to the safe 165°F (74°C) as it rests. Because the brined meat holds moisture so well, those final few degrees will be full of juice, giving you that perfect “restaurant-quality” slice every time.
Conclusion: Pick Your Path
At the end of the day, whether you choose a wet brine or a dry brine isn’t as important as just picking one and doing it. Both methods are massive upgrades over smoking an unbrined bird. You’re taking a lean, unforgiving piece of meat and giving it the structural reinforcement it needs to survive the fire. It’s the difference between a meal that’s “okay” and one that people are going to be asking for every weekend.
Don’t overcomplicate it. If you’re in a hurry and want that crispy skin, go with a dry brine for a few hours. If you’ve got a big Thanksgiving bird and want to make sure it’s the juiciest turkey your family has ever seen, go with the wet brine bucket. The principles are the same: salt, moisture, and a little bit of science to help you master the pit.
BBQ is a journey, and mastering the brine is one of those milestones that really separates the casual backyard cook from the true pitmaster. It shows that you’re paying attention to the details and that you care about the texture and moisture of the meat just as much as the smoke. It’s a skill that will serve you well on everything from a quick weeknight chicken dinner to the most important holiday meal of the year.
So get out there, grab some Kosher salt, and start experimenting. Your friends, your family, and your smoker will all thank you for it. Once you see the results, you’ll never go back to unbrined poultry again. I’ll see you at the pit!
Keep the Fire Burning
Smoked Turkey with Crispy Skin: The High-Heat 'Dry Brine' Method
Stop settling for rubbery turkey skin. Big B shows you the secrets of dry-brining, air-drying, and the critical 'high-heat finish' for the perfect bird.
Read GuideSpatchcock Smoked Chicken: No More Rubbery Skin
The best technique for flattening a bird for even cooking, maximum smoke exposure, and crispy skin.
Read GuideThe Post Oak Bible: Master the Backbone of Central Texas BBQ
Why Post Oak is the ultimate 'Goldilocks' wood for brisket, how to source it, and the secrets to getting that perfect clean blue smoke.
Read Guide